How to Make Cake Pops – Silicone Mold Versus Rolling By Hand
Browse:2416Times Date:2011-05-07
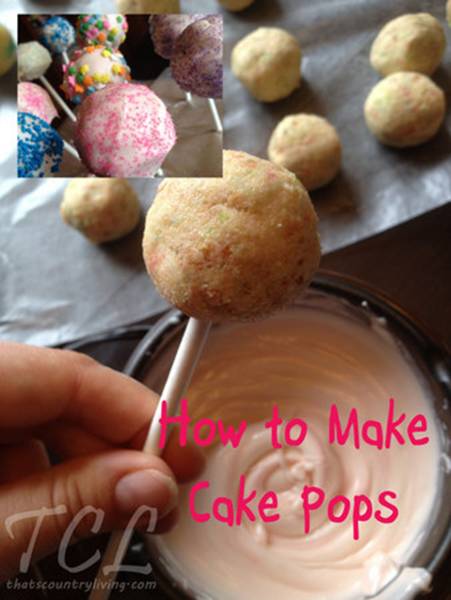
Yesterday I set out to attempt a baking CRAFT that I have been wanting to try for awhile now – CAKE POPS.
Cake Pops (term and assembly method credited mainly to Bakerella) have taken the country by storm. And what’s not to love? Cake – icing –
toppings – chocolate… all on a STICK. I bought a set of 2 silicone cake pop molds and spent a few minutes on Google trying to find tips on how to use them. I didn’t find much.
Instead, I found a post from
Love from the Oven – all about making cake pops by hand. Hmm. I hadn’t even considered doing that. I had always figured it was too much work. But her post convinced me that it was worth a try because they were a little bigger, looked a bit tastier and gave me so many more flavor possibilities.
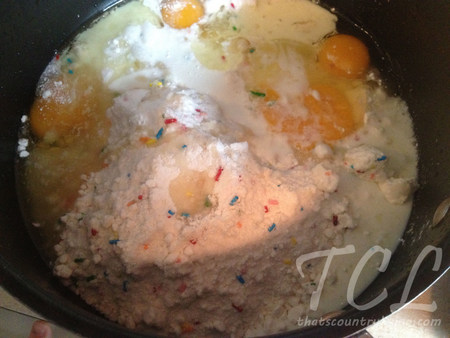
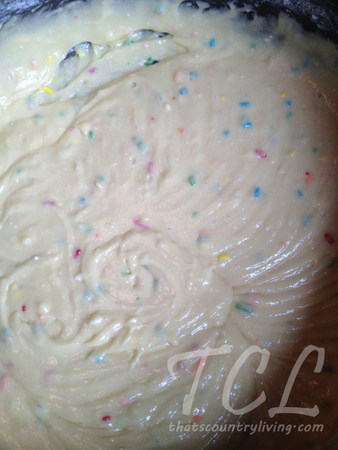
So let’s start with the silicone mold because I made the pops both ways. Making the batter was simple – I used Pillsbury Funfetti cake mix because it’s what I had on hand. I prepared it according to the directions on the box, but I added one extra egg and instead of 1 cup of water, I used 1/2 cup of milk. (That was a suggestion that came with the silicone mold directions.)
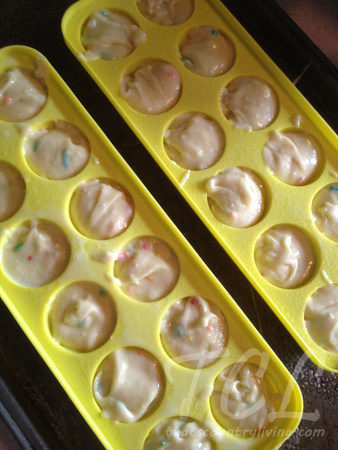
The directions did not say whether or not I should grease the molds, so I did just in case (using non-stick cooking spray). I filled each of the two bottom molds almost completely. Then I placed the top molds over the bottom, securing them into place. (I put the cake pop molds on a baking tray to keep everything a little more sturdy.)
I baked these guys for 16 minutes at 350 degrees. After they came out of the oven they sat (in the molds) on a cooling rack for half hour or so before I popped them out and onto a plate.
(to be continued)
【Next】
None!